How can I schedule and publish a Normal exam for a batch?
Scheduling an exam for a batch involves the following:
Creating an exam group for the batch.
Selecting the exam type.
Adding an exam i.e. subjects to be included in the exam group.
Specifying exam dates
Publishing the exam schedule
At the top of your dashboard, click the module access icon > Academics > Examination > Exam Management to open the Create Exam page.
In the top right, click the Create exam group button.
Select a class.
Select the batch for which you want to schedule an exam.
In the Exam group name field, enter the name of the exam.
In the Exam type field, select the grading type from the following options:
Marks – Display only marks in the reports.
Grades – Display only grades in the reports.
Marks and Grades – Display both marks and grades in the reports.
Click the Create exam group button.
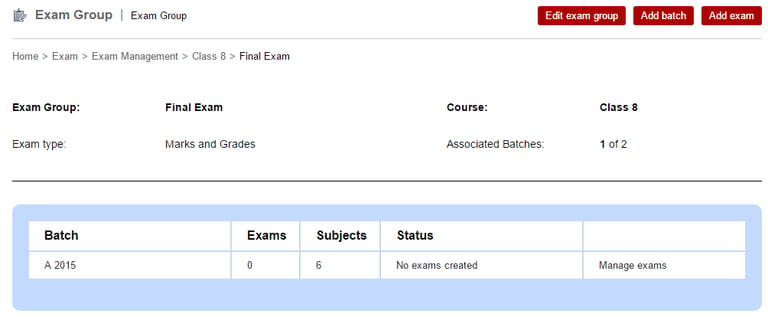

In the top right, click the Add exam button. All subjects of the batch are displayed.
Note: If elective subjects are not being listed, it means that they have not been assigned to students.
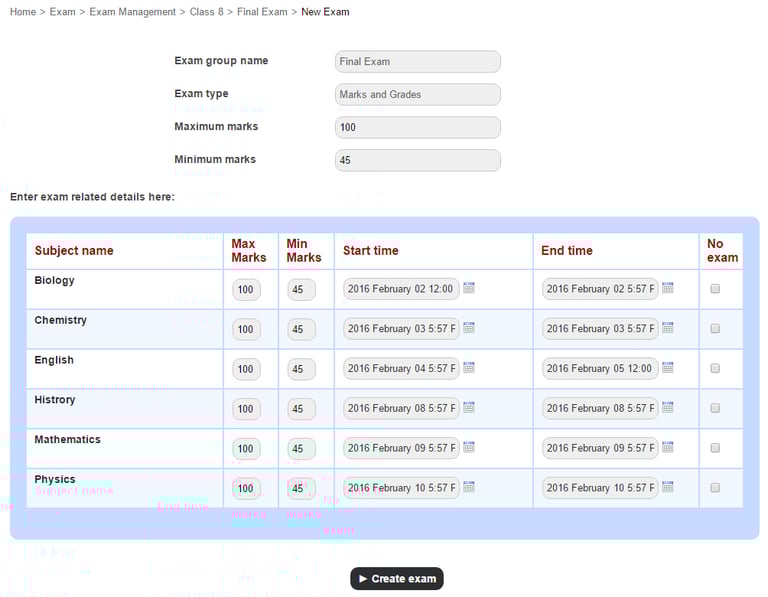
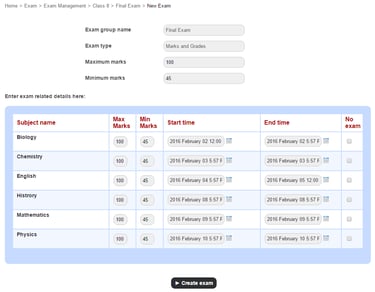
Enter the maximum and minimum marks for all subjects.
Note: If you have selected Grades as the exam type, you will not need to enter the maximum and minimum marks.
Specify the start time and end time for each subject examination.
Select the No exam check-box for subjects that are not to be included in the examination schedule.
Click the Create exam button. The exam schedule is created.
Click Manage exams and then click Publish exam schedule.


Note : After you publish the exam schedule, you can always remind the students and parents later by clicking Resend SMS notification.
Contact
Get in touch with our support team anytime.
Phone
info@sharakshara.com
+91 8073157220
© 2025. All rights reserved.